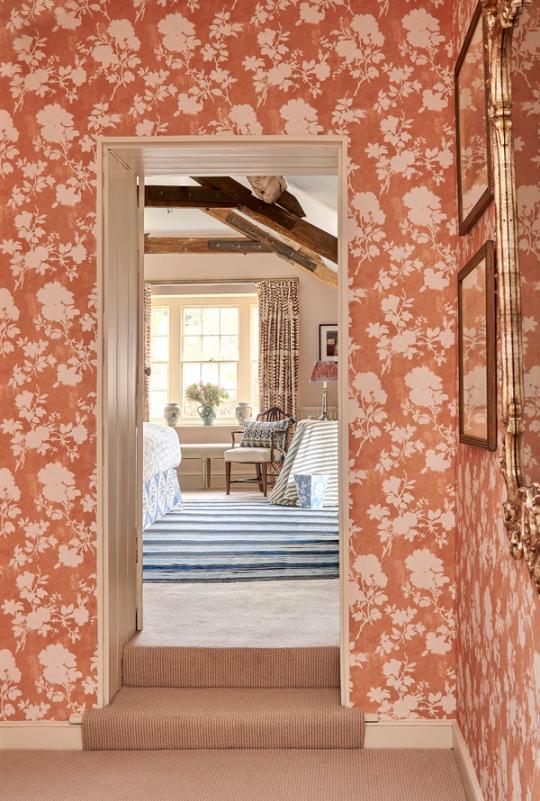
6 Tips for Hanging Wallpaper
Most of us would probably consider ourselves pretty willing DIYers, even if the sum total of our experience (so far) is rehemming the odd curtain and repainting a tired chest of drawers for the guest bedroom.
But, when it comes to joining in the full-scale renovations, things can get a little more daunting than we first anticipate. Painting a wall is one thing – cutting in (the boring part) and rolling back-and-forth, hoping the significant other will agree that, yes, two coats is enough.
Erecting wallpaper is an entirely different story altogether, and one that many of us would rather have someone else tell.
Still, if you’re already preparing to roll up your sleeves, here are our ten tips for getting the job done well.
1. Don’t do it on a whim
Hanging wallpaper properly is a big job. It’s a ‘set aside the weekend’ type of job; a ‘clear the room of everything moveable’ type of job; a ‘mentally prepare because this will take it out of you’ type of job.
While we all know the familiar feeling of inspiration and momentum striking in unison and compelling us to start setting up the pasting board at three o’clock on a Wednesday afternoon, resist. You’ll thank yourself when it’s six o’clock on a Sunday evening and you’re just about to put the final sheet on the wall.
2. Measure again
With any hope, if you have already ordered your wallpaper then you’ve measured and re-measured your room to make sure you have enough. Anyone with any experience in wallpapering a room or wall will tell you, however, that the key to a smooth process is to re-measure the room before you break open the paste.
It’s better to be safe than sorry, particularly when you’re making serious renovations.
3. But remember to account for the selvage
Many higher quality wallpapers are sold with a selvage – a small strip of unprinted paper at the edge of the roll, which protects the wallpaper itself (particularly if the roll is dropped on its end in transit) and makes it simpler for installers to line up the pattern.
Obviously, you don’t want to measure the entire width of your roll and use that to determine how much space you will cover. While the selvage only accounts for a small amount of the entire width, it’s important to subtract that from your total nonetheless.
4. Know your paper
We’ve written a more comprehensive guide to different wallpaper types here to get you started. The key is to know what sort of wallpaper you’re working with, since every type brings its own challenges and benefits.
For instance, while ‘paste the wall’ wallpapers are popular among DIYers, they don’t tend to have that luxury finish most of us are looking for. Woven uncoated wallpapers require more steps to install, but, provided you set aside enough time, they’re more than worth the extra effort. For more information, read our guide to the different types of wallpapers.
5. Pre-cut those selvages
There are a couple of different ways to remove the selvages from wallpaper. Some professional decorators choose to install two sheets of wallpaper on the wall, overlapping them at the selvage, before trimming that overlap off with a straight, vertical cut from ceiling to floor.
If that sounds difficult, that’s because it is. Generally, only people with extensive experience in wallpaper installation will be capable of making a cut like that without wobbles or snags, and that’s why, for the most part, we’d recommend a professional for installing woven wallpapers.
The other way to trim the selvage is to do it on the cutting table, before pasting or hanging. Use a sharp blade – not scissors – and make sure it’s completely straight since any (seemingly) minor deviations will be the only thing you notice when it’s actually on the wall.
6. For bigger patterns, start at the room’s focal point
Like doing a jigsaw puzzle, it can be tempting to start at the edge and work your way in – or, in other words, begin at one corner and gradually move along the wall until you’ve covered everything that needs to be covered.
The big disadvantage to doing this is, unless the pattern repeat is small, you can’t predict what part of the pattern will feature at the room’s main focal point. So, if you’re papering over the chimney breast or an area that the eye naturally goes to whenever someone walks into the room, it’s far better to start there (and use the best part of the pattern for that area) than to ‘wait and see’ what happens to land on it.
More from Decoration
